|
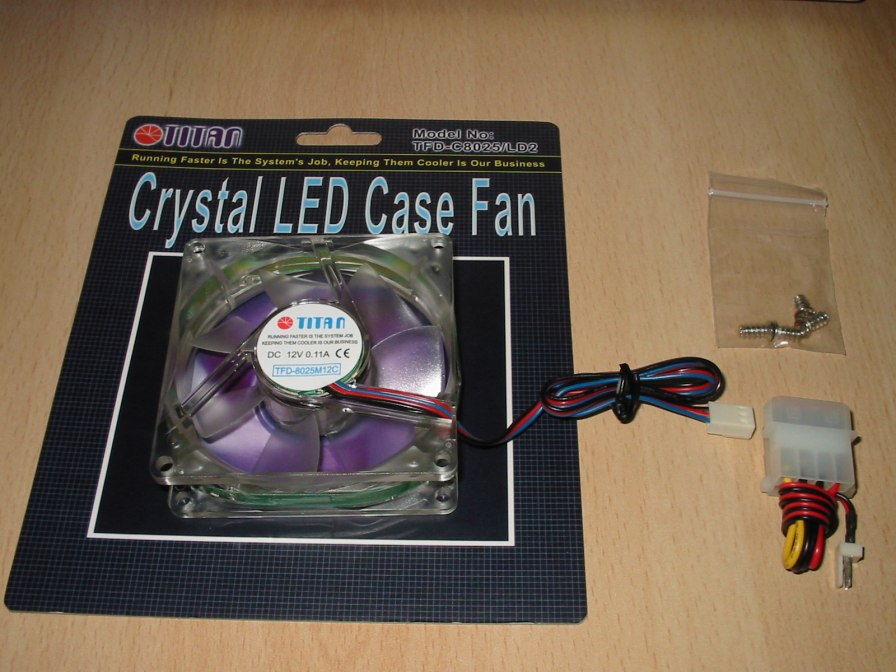
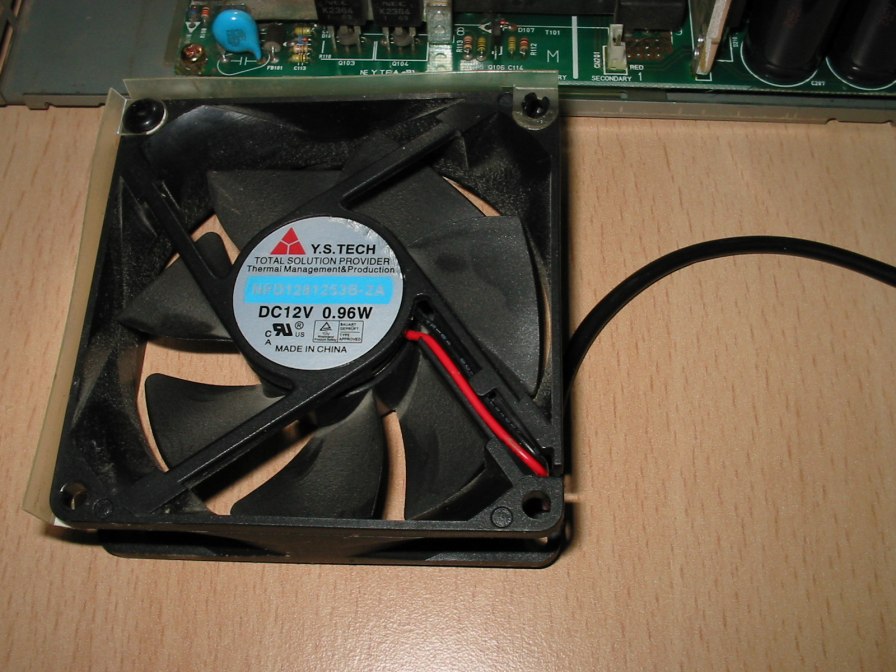
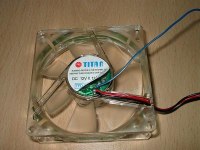
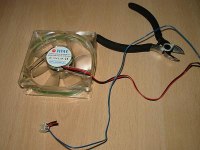
Here you can see the brand new fan
as it comes out of the packaging. The accompanying screws
we don't need, the small Y-cable however will be of use later
on. For the modification preparation you should get a sharp
knife or a small pair of scissors. We also need a small flathead
screwdriver
(that's how they are called) and a medium crosshead c.q. Philips
screwdriver. |
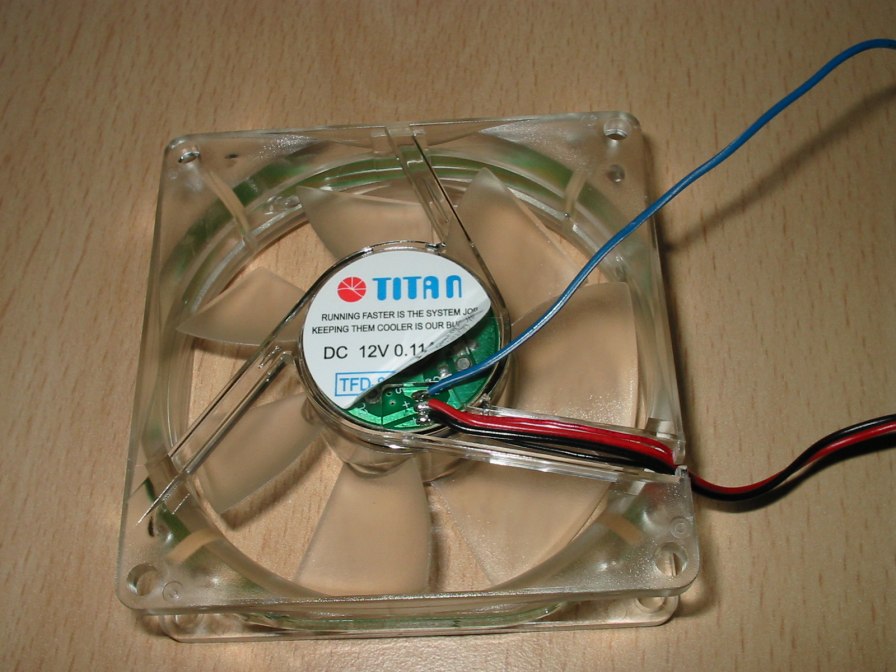
| The wire for the tacho-signal is superfluous
in this case and can be removed. With the Titan-Fan the wires
were molten together and i had to separate the third wire
by pulling it apart from the other two up until the fan itself.
At the fan, its label was blocking the view, so i removed
it partly to reveal the connection contacts. |
 |
 |
With a firm tug i tore off the third wire from
its solder contact at the fan contacts. Milder inclined persons
can also cut it with a pair of scissors. Be aware that the
remaining piece of wire does not come into contact with the
other solder contacts. Because the colors of the three wires
are not standardized, you should orient the fan to the photograph.
If you take the Molex connector with both of its leading ridges
facing forward, then the tacho-wire is the rightmost wire,
in my case the blue one. Then cut the connector from the wires.
The cable is still a bit long, but the shortening should only
be carried out when the PSU is open and the required length
is determined. |
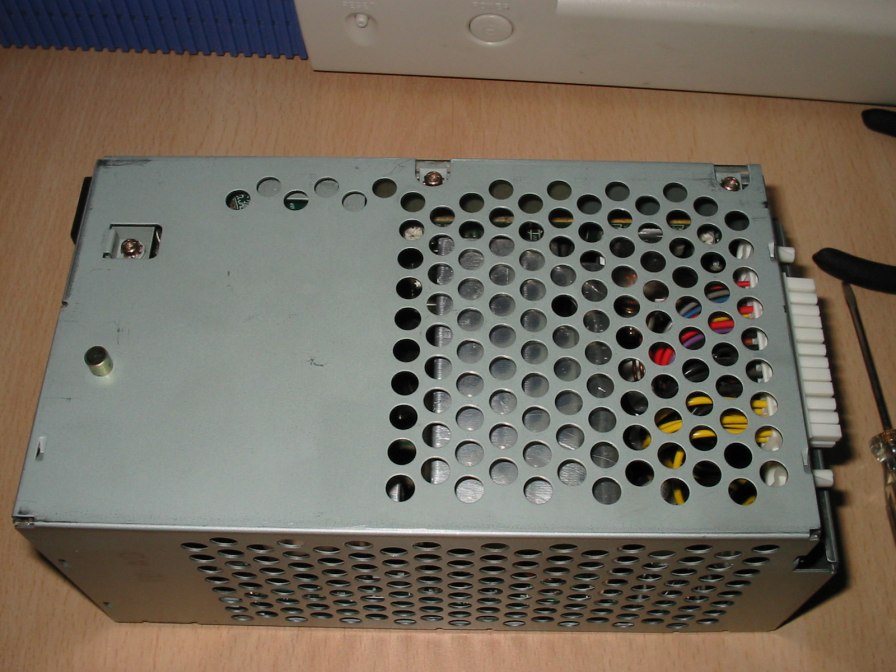
| We now remove the PSU from the O2. Ideally,
it should not be fed with power just before removal, but the
danger from electric shock can be ruled out, provided one
should refrain from touching anything not related to the fan.
A screwdriver is not needed in the PSU interior (it has no
business there anyway...) We place the PSU upside-down on
the table and notice three screws, which we remove. To remove
the PSU hood, we lift it a bit on the removed-screws-side
and open it like a treasure chest. |
 |
 |
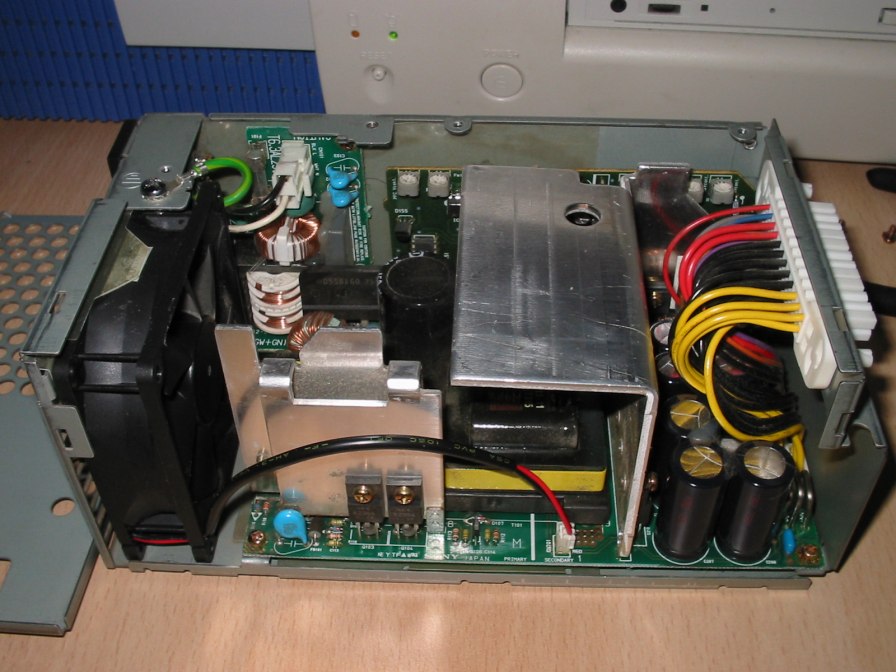
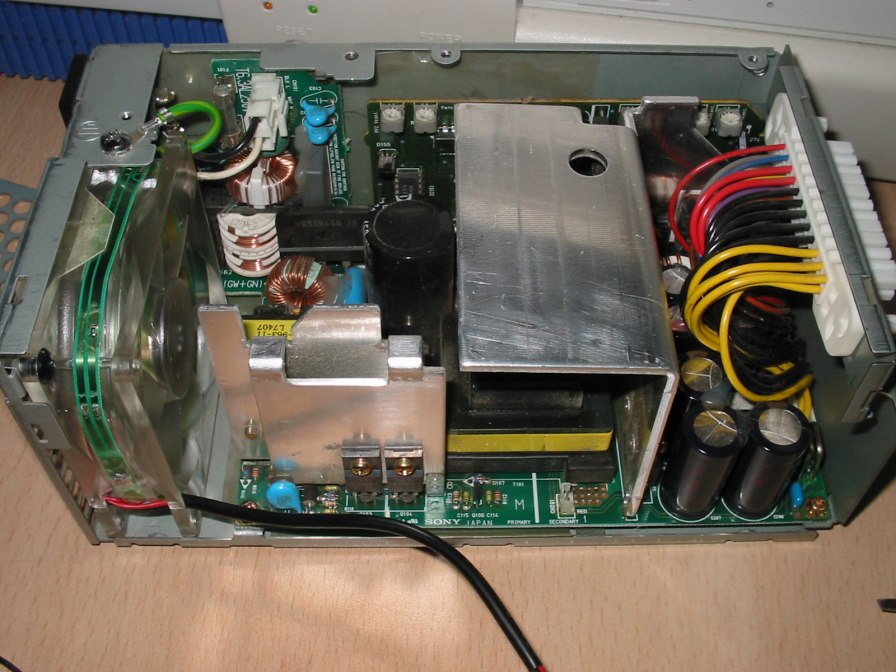
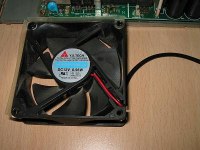
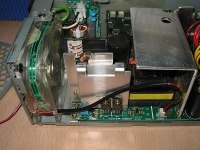
Now we see the well built PSU, open in front
of us. If we need to touch anything here, maybe to hold the
PSU, then do so only at the exterior casing, the fan or the
aluminum cooling block. Everything else, either attached to
the circuit-board or nearby, is dangerous and should not be
touched. On my photo there already is a new fan in place,
but the Panaflo fan looks almost the same. To remove the fan
we also have to remove another screw at the metal fan grill.
Next, in the top right corner, there is a plastic retainer,
which is a bit tricky to handle. The plastic pen has to be
removed in its entirety out of the fan's hole, all this from
the inside. Then the fan can be loosened alltogether, and
after the cable has been pulled off, removed from the PSU. |
| Looking at the removed fan, some small "spoilers"
can be seen, held by yet another plastic pin, ans also glued
to the fan. First one pulls out the plastic pin at the upper
left corner and remove both black clamps which stick in the
holes. Next the glued "spoilers" should be pulled off gently
and re-applied on the new fan quickly and at exactly the same
place. The plastic clamps and pin, from the upper left corner,
should be reinserted onto the new fan as well. The small crimp
tube, still surrounding the wires of the old fan, can be pulled
over the wires of the new fan. That's not so important, it
only let the wires blend in into the PSU interior and makes
the wires somewhat more rigid. |
 |
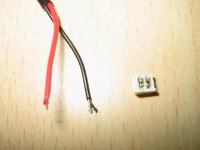 |
Here we can see the loosened small connector,
which can be pulled off from the old fan. It's only clamped
and can be removed without tools. You don't have to remove
the isolation from the wires, even if the photo tells you
otherwise. The bare wire ends in the photo resulted from an
earlier, failed, attempt. The metal clamps in the connector
cut through the isolation. |
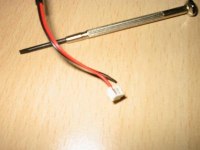
| Here we can see one of the wires already pressed
into the connector. I took a small screwdriver for that. If
both wire ends are put into the connector, you should press
together gently but firmly the sides of the connector with
a pair of pliers. At my first attempt the metal clamps failed
to cut through the isolation completely and the fan didn't
function. After i pressed the connector by its sides once
again, everything functioned without problems. |
 |
 |
The fan can now be put into the PSU. How exactly
this has to be done, one has already seen when removing the
fan. The connecting cable has to go through the second hole
of the fan, otherwise the hood of the PSU will interfere with
it. As you can see, i trimmed the wire to its appropriate
length and reused the old crimp tube. |
| This is how it should look like, if you did
a proper job. Now you can close the hood. Before inserting
the screws to fasten the hood, you should test the PSU in
the O2. If it lights up, you have succeeded. Otherwise, open
the PSU once more and press the fan-connector firmly. After
the test, one can finally close the PSU by tightening the
hood with the three screws, and build the PSU into the O2. |
 |
 |
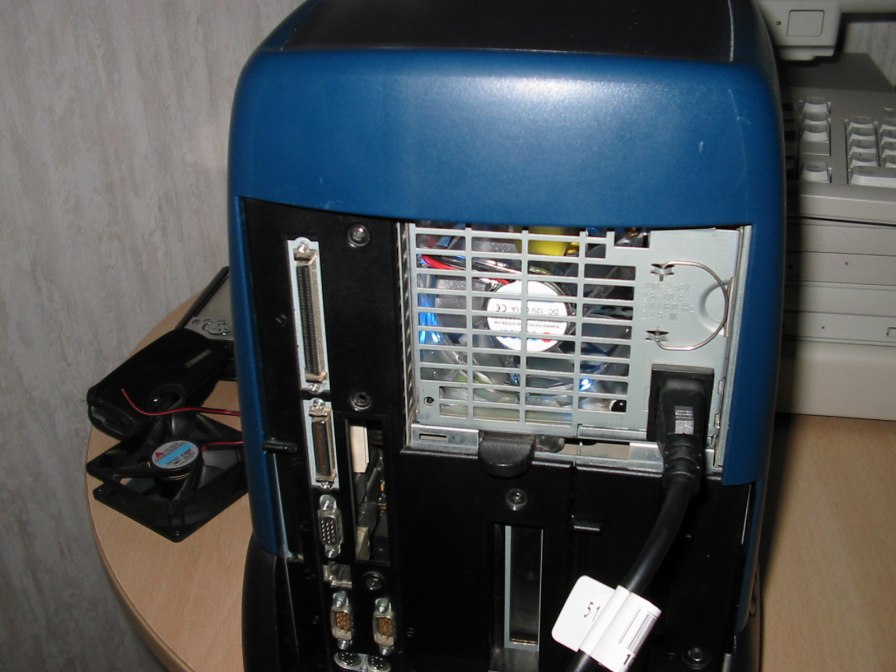
Here you can see the PSU in full action. It's
shining and spins lively. By the way, it looks better if you
don't put a light shining on it directly. The applied fan
is completely sufficient in cooling the O2, and yet it is
very silent. The PSU of the O2 is also equipped with temperature
control, which throttles the fan a bit, after a shout run-in
period, and releases the brakes only at higher temperatures.
Unfortunately, even with this temperature control, the old
fan still cannot be called silent. |
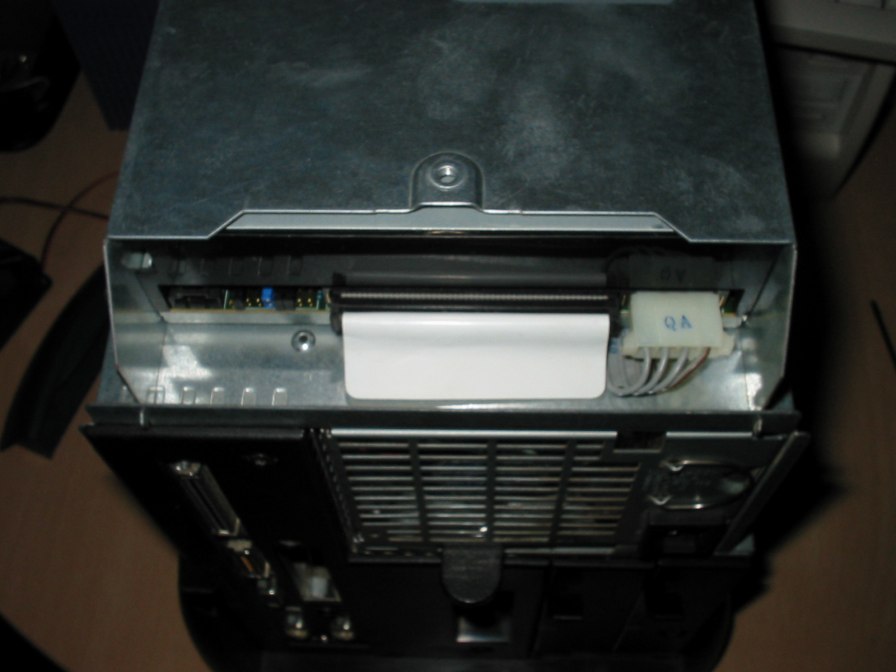
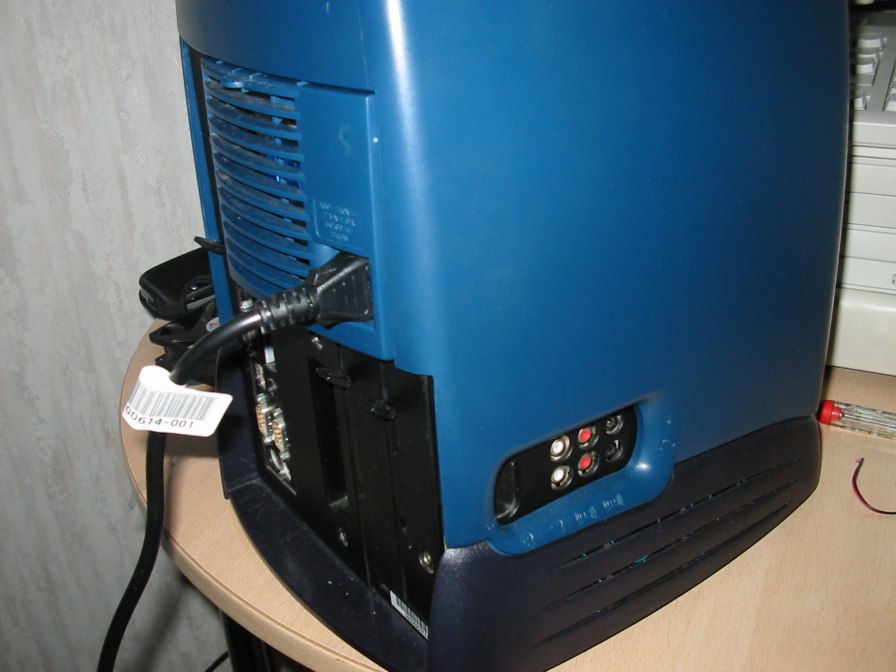
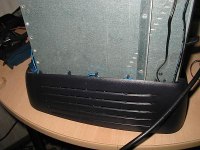
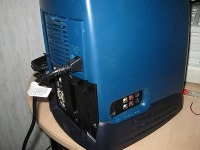
| Here you see the rear view without the plastic
back-grill and taken without flashlight. The photo looks darker
that it actually is, but now the lighting effect is clearly
visible. |
 |
 |
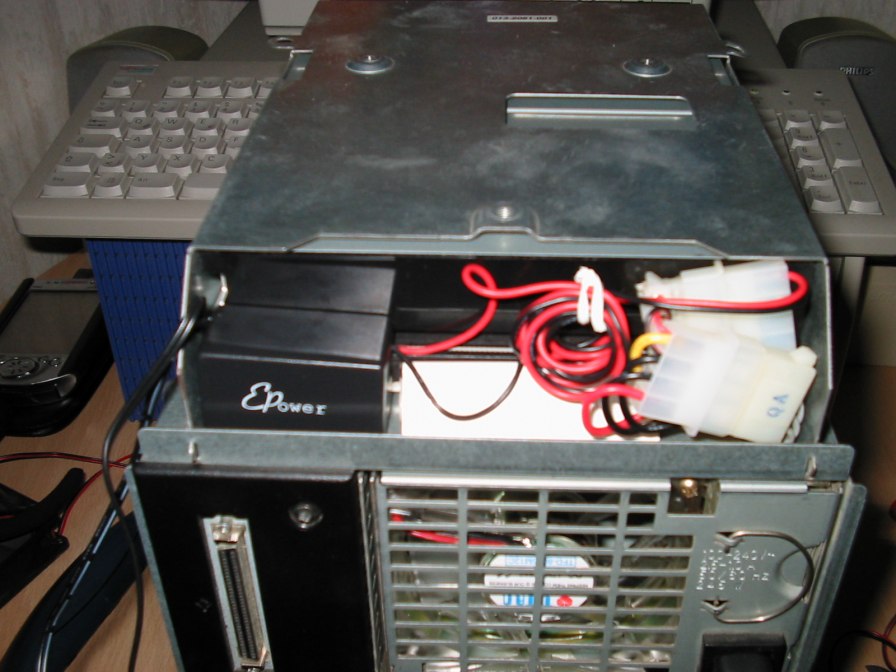
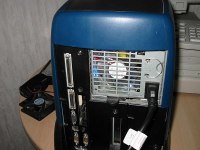
Now we go to the second stage of the modification.
After we've exchanged the O2 fan, now comes some pure playing-around
- the neon-cord. We only need to remove the blue O2-hull.
To do this, we switch on the O2 briefly and open the cd-tray.
Now remove the blue front of the cd-tray and close it. After
the O2 is switched off, one can open the cover by clutching
it inside under the cover at the back and one can unscrew
the hull. Then the O2 will show itself to us in full nudity.
For us, the most interesting part is the larger space behind
the cd-player. This we also see in the photo. |
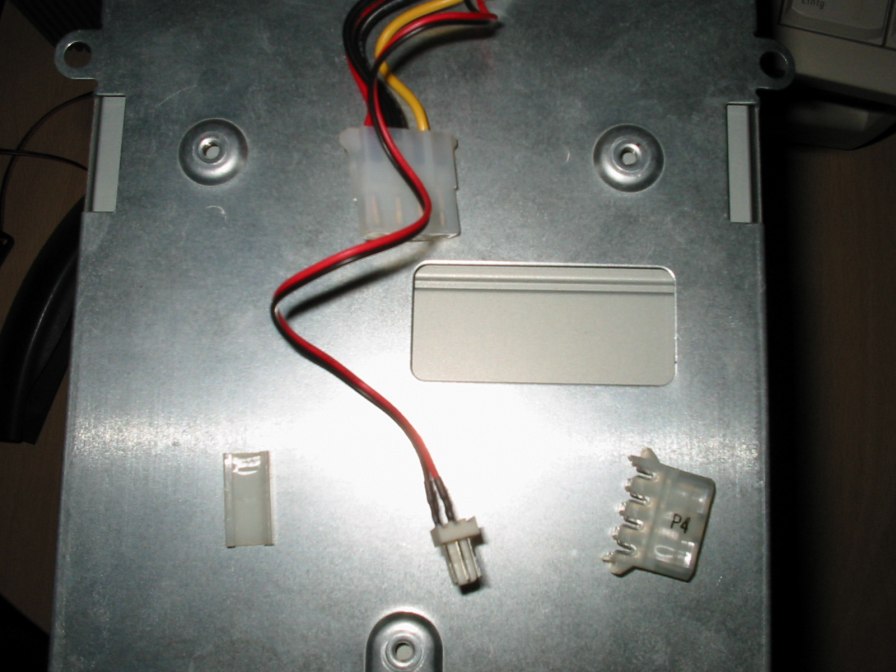
| Now the aforementioned Y-cable comes into play.
Anyone who wants to use a different fan can also use a separate
purchased Y-cable. It's however pretty cramped in the space
behind the cd-player, so long cables can use up all that small
space. I have put a connector from an old PC-PSU onto the
Y-cable, which only needs to be clamped as well. Remaining
cable ends i trimmed away and the Y cable is placed between
the cd-player and its power-connector. |
 |
 |
And here we already placed and connected the
converter for the neon-cord. Its cable is quite long, and
for convenience, i compacted it with a binder from the fan
package. At the converter side, two plastic "eyes" had to
be broken off, which were placed alongside the long face to
allow the converter to be secured, because they stretched
too far out. Now the converter fits in the space between the
left hull side and the scsi-connector. Both cables, which
will allow the connection of two neon-cords, will be put over
the slanted hull-side. |
| The second cable will be put in to the hull
and the neon-cord will be connected with the first one. Now
the neon-cord will be placed into the free spaces loopwise
and fixed to the hull with some clear adhesive tape. |
 |
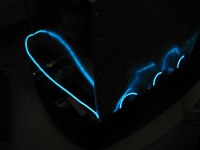 |
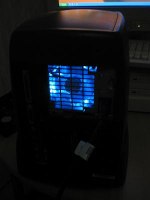
Here you can admire the neon-cord in working
condition. The silvery steel of the inner hull amplifies the
lighting effect. There are a few glue-strips missing from
this photo, to which i fixed the neon-cord to the inner hull. |
| Now the hood is in place again, the cover closed
and the plastic back-grill attached to the PSU. One can't
see a lot because of the flashlight. The blue lighting can
only be hinted at. |
 |
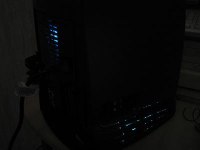 |
The same photo, but this time without flashlight.
It shines blue, but it's not yet enough to read a newspaper
next to the O2. This photo maybe remembers at a commercial
for Volkswagen. In that commercial, the blue lighting inside
the new Golf was featured, with slogan: "Blue lighting
makes one happy." |